This content was originally published on OldHouseOnline.com and has been republished here as part of a merger between our two businesses. All copy is presented here as it originally appeared there.
Garlic is a delicious and versatile ingredient that is used in a variety of dishes across many different cuisines. Growing your own garlic is not only a fun and rewarding experience, but it also ensures you have access to fresh garlic whenever you need it for cooking. Then you can harvest and put it straight into your garlic press for the most delicious dishes! Plus, it will save you money in the long term from having to buy it at the store. In this blog post, we will give you a step-by-step guide on how to grow garlic in six easy steps so you can take your cooking to the next level in no time.
Step 1: Choose the Right Garlic Variety
There are many different varieties of garlic available, each with its own unique flavor profile and growing requirements. Softneck garlic is the most common type and is best suited for warmer climates, while hardneck garlic is better suited for colder climates. Choose a variety that is well-suited to your climate and meets your culinary needs.
Step 2: Prepare the Soil
Garlic prefers loose, well-draining soil with a pH between 6.0 and 7.0. Till the soil to a depth of 6-8 inches and amend it with organic matter such as compost or well-rotted manure. This will help improve soil fertility and drainage, which are essential for healthy garlic growth.
Step 3: Plant the Garlic
Plant garlic in the fall, about two to four weeks before the first expected frost. Separate the cloves from the bulb and plant them with the pointed end up, about 2 inches deep and 6 inches apart. Cover the cloves with soil and water them thoroughly.
Step 4: Mulch the Soil
After planting your garlic, apply a layer of mulch such as straw, leaves, or grass clippings to the soil. This will help retain soil moisture, suppress weed growth, and regulate soil temperature. Apply the mulch at a depth of 2-4 inches, making sure to avoid covering the garlic shoots.
Step 5: Water and Fertilize
Garlic requires regular watering to grow properly. Water your garlic once a week, making sure to keep the soil consistently moist but not waterlogged. Additionally, fertilize it with a balanced fertilizer every four to six weeks. This will provide the garlic with the nutrients it needs to grow and produce healthy bulbs.
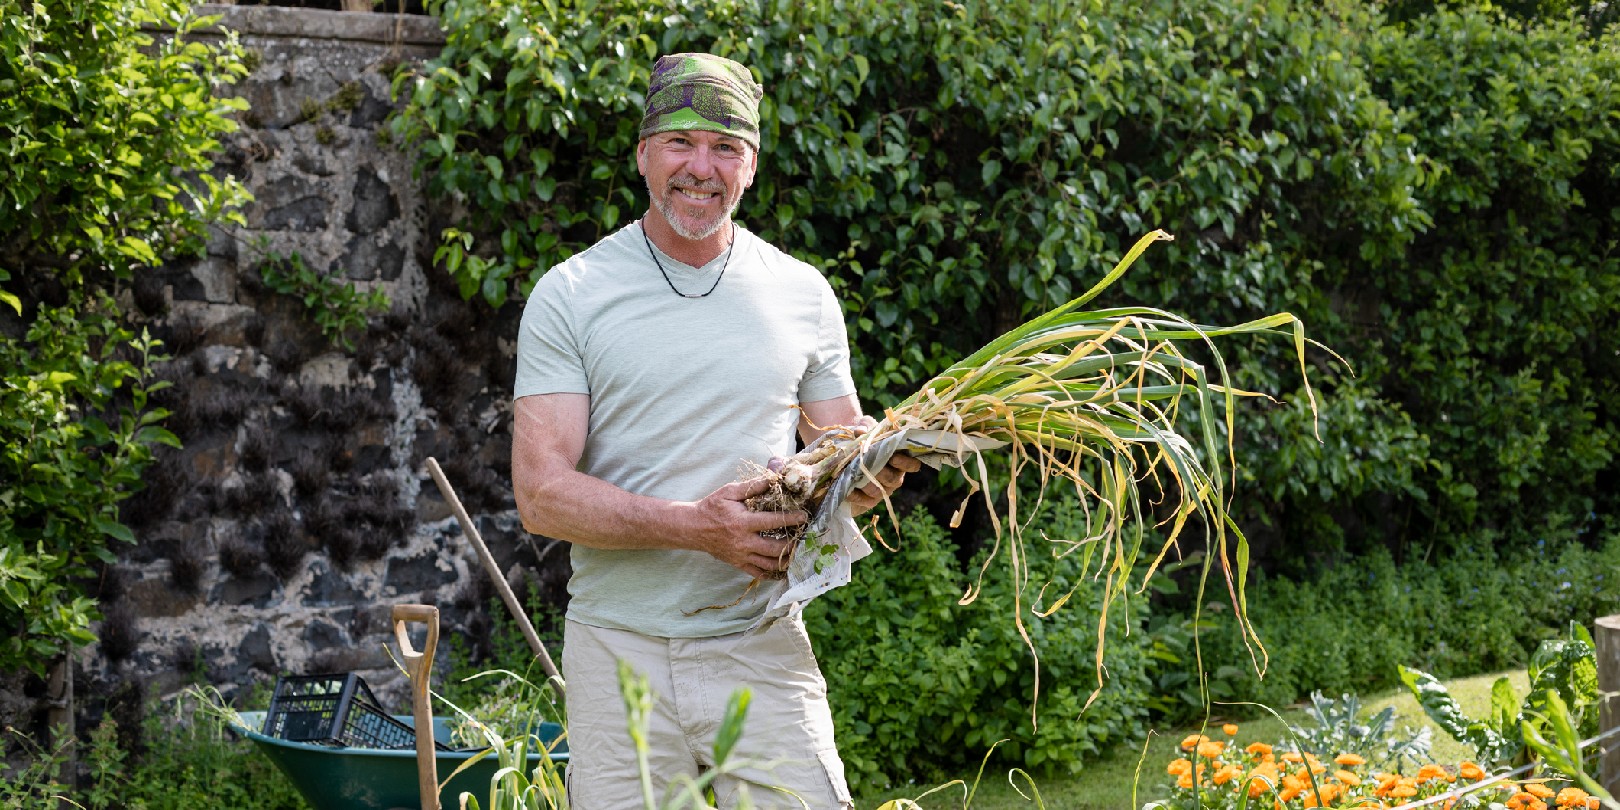
Step 6: Harvest and Cure the Garlic
Garlic is typically ready to harvest in mid-summer when the leaves begin to turn yellow and die. Carefully dig up the bulbs, being careful not to damage them. Allow the bulbs to cure for two to three weeks in a warm, dry, and well-ventilated area. This will help the garlic to develop its characteristic flavor and aroma.
Conclusion
Growing garlic is a fun and rewarding experience that can be easily accomplished with just a little bit of effort. By following these six easy steps, you can enjoy fresh, delicious garlic straight from your garden. With some care and attention, you can grow garlic that is just as delicious as anything you can find at the grocery store.