This content was originally published on OldHouseOnline.com and has been republished here as part of a merger between our two businesses. All copy is presented here as it originally appeared there.
Shopping for vintage hardware can be an exercise in frustration. How many times have you happened upon a beautiful antique cabinet knob, only to realize that it’s not the right size or color, or the store doesn’t have enough in stock for your entire project? If you’ve amassed a collection of orphaned knobs, put them to good use by reusing them as hooks for the bathroom, mudroom, or entryway.
How to Make It
- Gather your materials: Start by choosing a backing for the hooks. We used a salvaged drawer front, but you might also consider a cabinet door, a length of thick molding or trim, or just a nice piece of reclaimed wood. (Make sure your knob screws are appropriately sized for the depth of the backing material-you may have to get longer or shorter ones so the knobs will sit flush.) Once you have your backing material, you’ll be able to determine how many knobs will fit. What you plan to hang will dictate how far apart the knobs need to be-for coats or bath towels, plan on 8″ to 9″ between each knob; if you’re hanging purses, scarves, or jewelry, you can put them closer together (around 3″ to 4″).
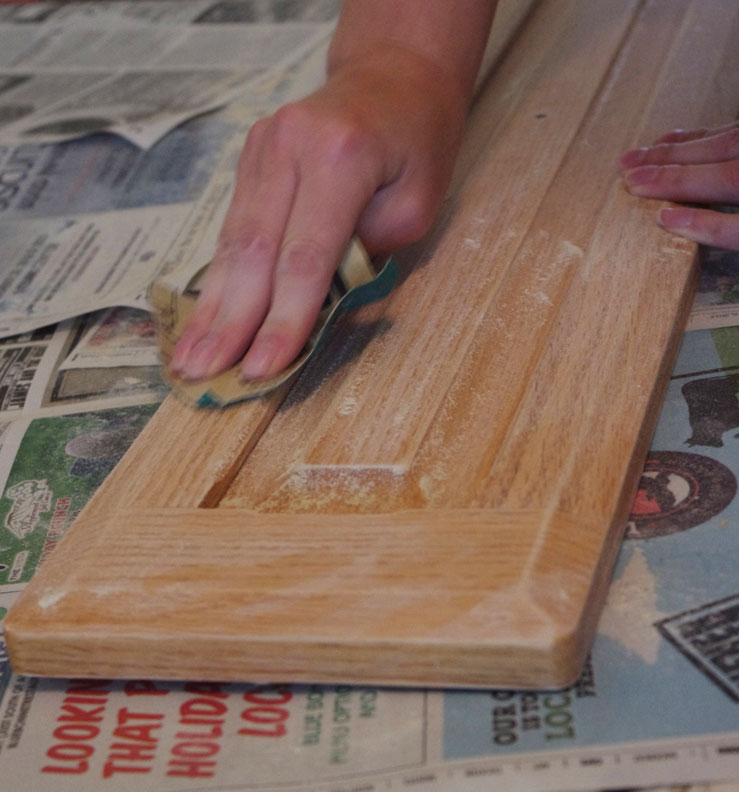
- Paint the backing: If the backing already looks the way you want it to (say, if you’re using natural reclaimed wood), you can skip this step. Otherwise, apply two to three coats of your chosen paint and let it dry thoroughly. We used milk paint to get a time-worn look. If the surface has been previously finished, you’ll need to sand it with coarse sandpaper first so the paint will adhere. (Use caution when sanding old paint; find out more at epa.gov/lead.)
- Mark and drill holes: Measure the length and width of your backing piece to determine the center. If you’re using an odd number of knobs, mark the location of the first knob at the center, then measure out from there to mark the placement of the other knobs. If you’re using an even number of knobs, divide your knob spacing measurement in half, then measure this distance from each side of the center point. (For instance, if you’re spacing knobs 8″ apart, measure to 4″ on each side of the center.) Mark the placement of the first two knobs, then measure out from there for the remaining ones.
- Attach the hardware: Using a 3/16″ bit (the standard size for cabinet hardware), drill holes through the backing material at your markings. Finish by tightly screwing the knobs into the holes. Depending on your backing material, you may need to countersink the screws so the piece will sit flush when you hang it on the wall.